


Introduction
In order for your website to be accessible on the internet, you need to ensure that your DNS (Domain Name System) is set up correctly. This guide explains different scenarios depending on where your domain is registered, and how to make sure your site connects successfully.
Scenario 1 — Domain Registered with Hipposerve
If you registered your domain directly with Hipposerve, there’s nothing you need to do. The DNS will be set up automatically when you order your hosting slot, and your site will usually be live on the internet within a few minutes (subject to DNS propagation).
We will manage your DNS for you. If you ever need to make updates or changes in the future, follow our step-by-step guides here: DNS Management Guide.
Scenario 2 — Domain Transferred to Hipposerve
If you transfer your domain to Hipposerve, the DNS will also be set up automatically, just like in Scenario 1. However, you may need to update your nameservers to point to Hipposerve.
For instructions on updating nameservers, see: Getting to Know Nameservers.
Scenario 3 — Using a Third-Party Domain
If your domain is registered with a third-party provider, you will need to log in to their control panel and manage DNS/Nameserver settings.
Option 1 (Recommended): Change Nameservers
The simplest option is to update your nameservers to point to Hipposerve. This allows us to manage DNS for you. Learn more here: Getting to Know Nameservers.
Option 2: Update A Records
If you prefer to keep DNS with your existing provider, you can manually add or update the A record with the IP address of your hosting server.
To find the IP address:
- Go to your Reseller Hub.
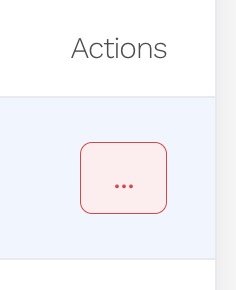
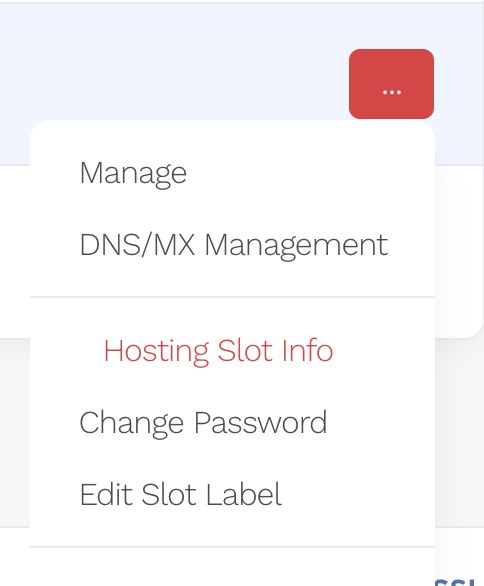
- Click the Actions icon next to your hosting slot.
- Select Hosting Slot Info from the menu.
- The Server IP Address will be displayed here.
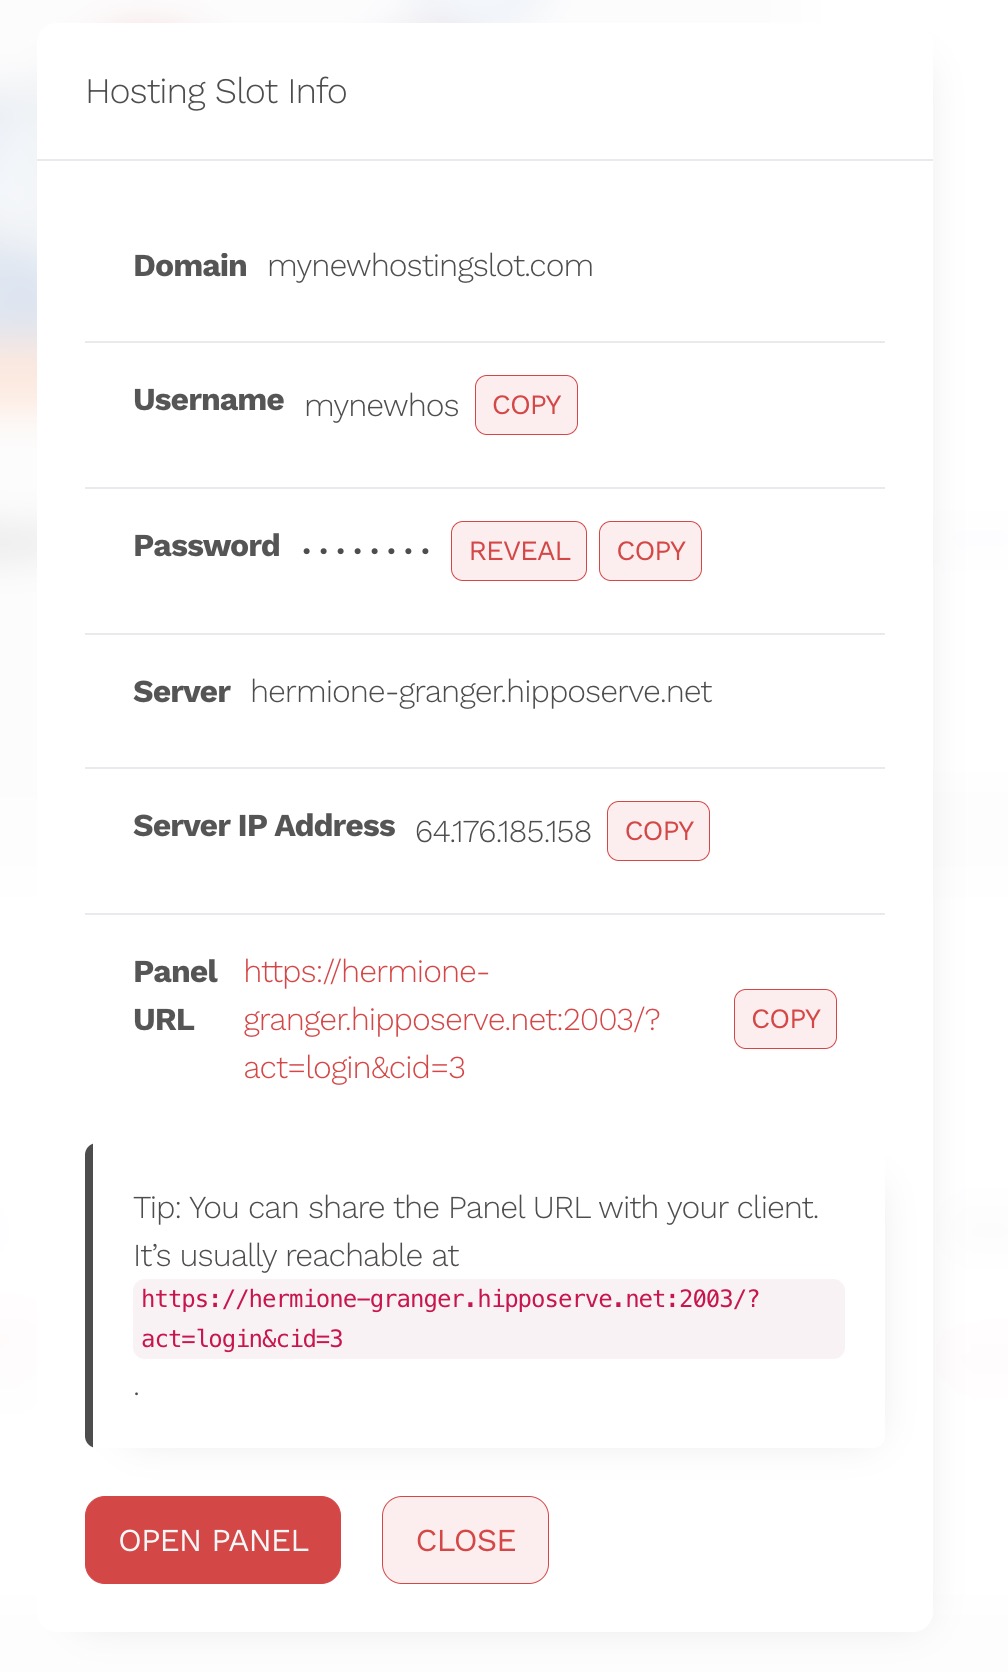
Copy this IP address into your provider’s DNS settings as the A record. Once DNS propagates (up to 24 hours), your site will be live.


